
Here's how to wash, sand, scrap and fill woodwork for a smooth finish.
A good paint job starts with good prep work
1 of 1
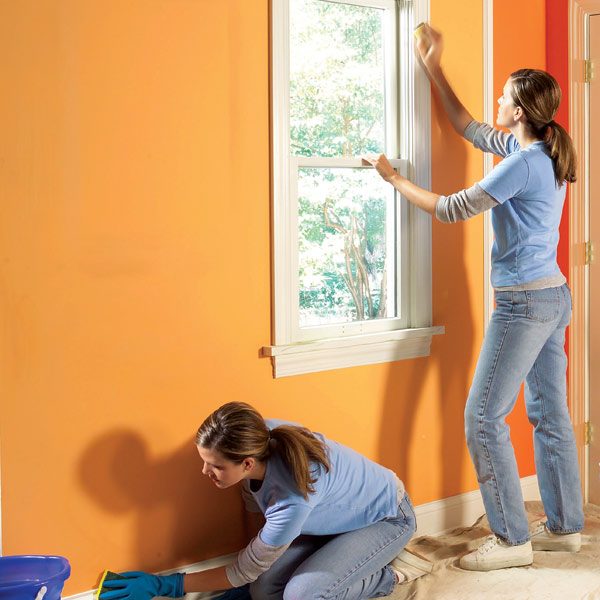
Prep the trim and base
A good paint job is 90 percent prep work.The key to a long-lasting paint job is to prepare the woodwork so it's clean and gloss free. In this story, we'll show you how to achieve a mar-free surface that'll hold paint for 10 years or even longer. Best of all, the new paint job will look like you hired it done by a nitpicky pro. Whether you're repainting painted wood or painting wood that's been stained and varnished, the steps and tips we show here apply to any woodwork—door, window or trim.
Real pro painters know they can't rush a job. This story will show you key tips on how the pros remove a surface layer of paint to prepare interior woodwork for optimum adhesion of the new primer and paint. We don't show you how to strip layers of old paint down to bare wood using heat or chemical strippers.
Caution!
If your home was built before 1979, check the paint for lead. Call your public health department for instructions on how to do it. Don't use the scraping or sanding techniques we show here on lead paint because doing so will release lead dust, the primary cause of lead poisoning. For more information on lead.Wash the woodwork
1 of 3
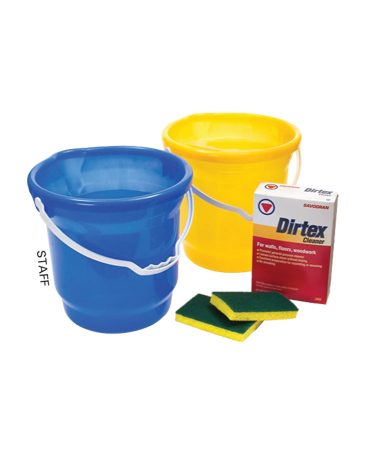
What you need to start
You'll need buckets, sponges and detergent to wash the trim.
« Previous Photo
Next Photo »Use a non-soapy detergent (such as Dirtex, Spic & Span or TSP No-Rinse Substitute according to label directions. Regular TSP (tri-sodium phosphate) also works, but it leaves a white film that requires a lot of rinsing, and it can irritate your skin.
It's not available in some states. Dip a scrub sponge into the cleaning solution and wring it out enough to keep it from dripping. Wash wood from the bottom upward with slow, easy up-and-down strokes so the solution has time to soften the grime .If you start at the top, the cleaner can run down the wood and create hard-to-remove streaks.
Only clean one section at a time so the wood won't dry before you rinse off the cleaner (if directions call for rinsing). To rinse, dip the rinse sponge in clear water and wring it drip free, then wipe the surface clean in one pass. When you begin to wash a new area, start well within the clean area to avoid streaking.
Change both the cleaning solution and the rinse water often—whenever the water becomes cloudy. Spend twice as much time cleaning the wood in areas of high hand contact such as windows, door frames and around light switches and handles/knobs, and places that attract high airborne particles (all wood in kitchens, bathrooms and laundry rooms).
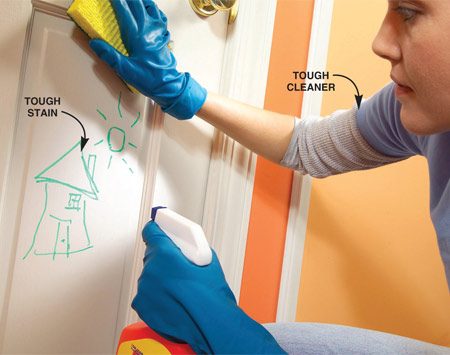
Remove stains with special cleaners
1 of 1
Clean stains
Use a heavy-duty cleaner on stains, or cover them with a stain-blocking primer.Hand-sand all woodwork to remove all surface shine
1 of 2
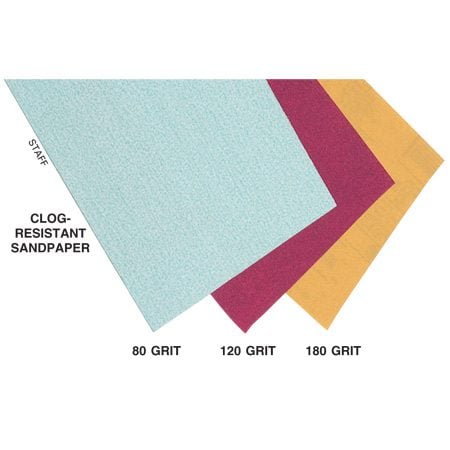
Clog-resistant sandpaper
Use clog-resistant sandpaper to sand gummy surfaces.
« Previous Photo
Next Photo »If the outside paint layer is gummy, use a “clog-resistant,” or “self-lubricating,” sandpaper (such as 3M's SandBlaster paper). It has an anti-load coating that keeps the paper from clogging.
Buy a sanding block and sanding sponges
1 of 2
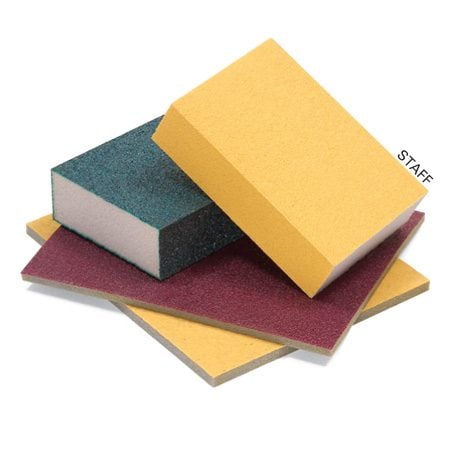
Sanding sponges
A sanding sponge can reach crevices that are hard to sand with paper.
« Previous Photo
Next Photo »- A folded sheet and finger pressure work great for most areas.
- A rubber sanding block is comfortable to grip, works well with feathering and lets you apply more even pressure in stubborn areas like windowsills.
- A sanding sponge or pad conforms readily to curves and crevices.
Test the paint adhesion
1 of 1
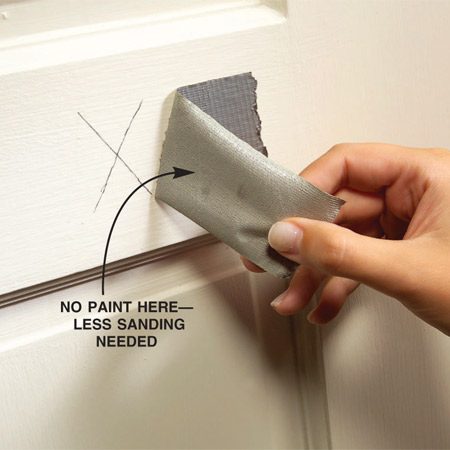
See if paint sticks to duct tape
Pull duct tape off the paint to see if the paint sticks.Scrape loose paint
1 of 1
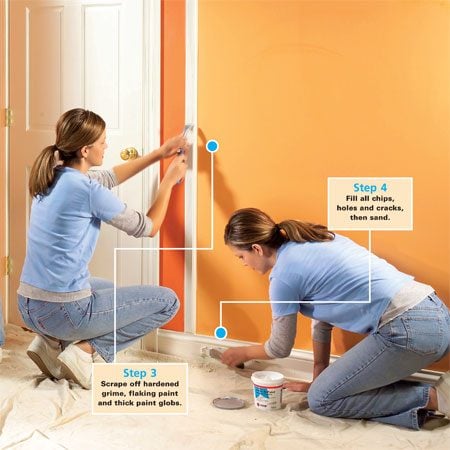
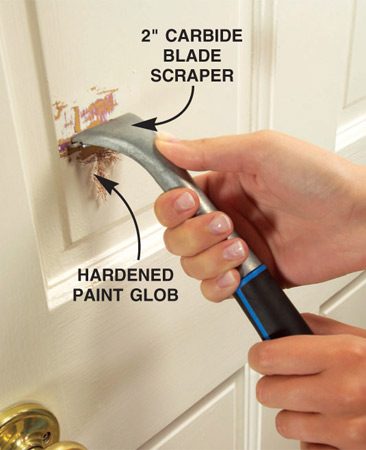
Scrape loose paint
Remove buildup and loose paint with a 2-in. carbide scraper.Buy one that fits your hand and features a replaceable carbide blade. Pull the scraper in the direction of the wood grain, and use finesse and elbow grease to “rake” the paint away but not gouge the wood. Scrape until the remaining paint won't budge and you have nice, crisp (but not sharp) edges in the details of the wood.
Dust and vacuum thoroughly

1 of 1
Vacuum the woodwork
Dust off the woodwork, then vacuum it with a brush attachment.Clean out crevices with a putty knife
1 of 1
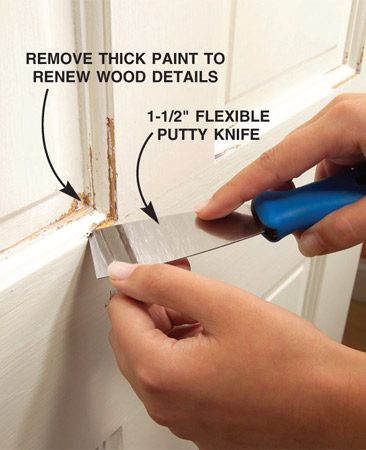
Scrap crevices with a putty knife
Use a 1-1/2-in. flexible putty knife to clean out detailed areas.
liquid sandpaper.
Consider Liquid Sandpaper, Especially on Lead Paint
After final sanding and vacuuming, some pros go the extra step of wiping woodwork down with a liquid sandpaper/deglosser (such as Wil-Bond by Wilson-Imperial or ESP by Flood). This step will ensure a good bond. And if you have to deal with lead paint, this step can replace sanding.Check for flaws with a trouble light
1 of 1
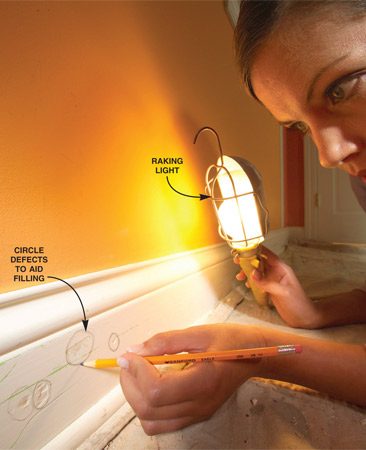
Rake a light across the wall
Shine a light across the woodwork and circle any flaws.Fills holes with lightweight spackling compound
1 of 2
Fill holes with compound.
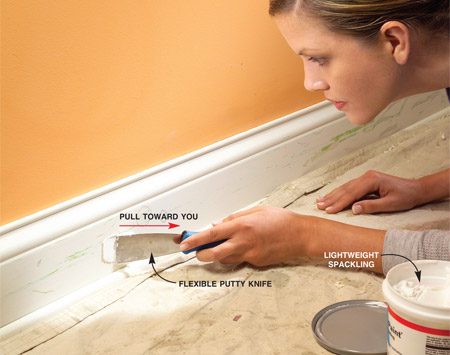
Use a putty knife to fill all chips, holes and cracks with spackling compound.
« Previous Photo
Next Photo »Apply more filler than is needed to each hole with a flexible putty knife, then smooth it by pressing down and pulling toward you. Then use the widest putty knife you have to feather out the filler—and keep sanding to a minimum.
Rebuild damaged corners with a two-part filler
1 of 1
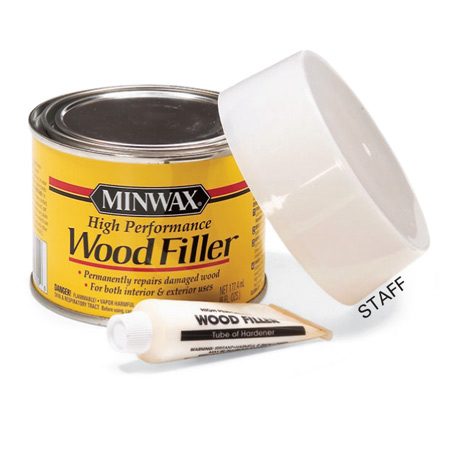
Two-part wood filler
Use a two-part wood filler to fix damaged wood trim.Caulk between woodwork and walls
1 of 2
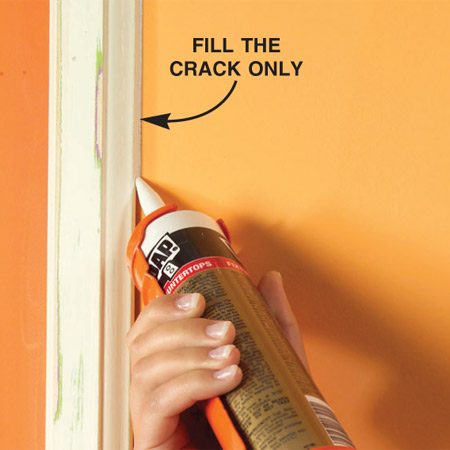
Caulk along the trim
Run a crisp bead of caulk between the trim and the wall.
« Previous Photo
Next Photo »Feather out filled areas with fine-grit sandpaper
1 of 1
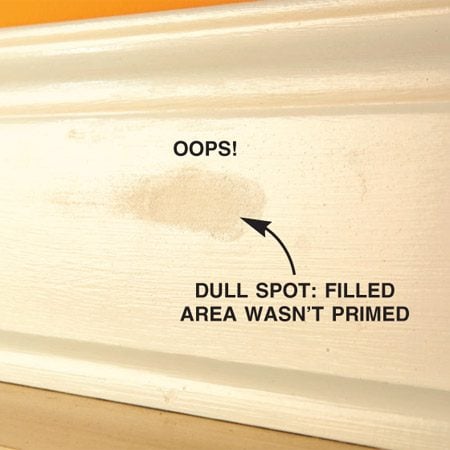
Dull spot that wasn't primed
Prime areas that are filled with compound, or the dull spot will show through the finish coat of paint.Finish by wiping down the wood with a damp cloth if using water-based paint or a tack cloth if using oil-based paint. Spot-prime filled areas, especially if you're using gloss or semi-gloss paint, or else the paint will be dull in filled areas.
Required Tools for this Project
Have the necessary tools for this DIY project lined up before you start—you’ll save time and frustration.- Caulk gun
- Bucket
- Drywall sander
- Dust mask
- Paint scraper
- Putty knife
- Shop vacuum
- Paintbrush
Required Materials for this Project
Avoid last-minute shopping trips by having all your materials ready ahead of time. Here's a list.- Sandpaper (course, medium and fine grit)
- Sanding sponge
- Rubber gloves
- Sanding block
- Spackling compound
- Detergent
- Cleaning sponges
- Liquid sandpaper
- Two-part wood filler
- Duct tape
- Acrylic latex caulk
I like your blog a lot. Its informative and full of information. Thank you for sharing.
ReplyDeleteairless paint spray gun